Sunday, 18 November 2018

Clean and Simple


Hello,
Today I needed to make a quick card for my cousin who is going to have knee replacement surgery soon, I spotted the Freshly Made Sketches #363 and thought I would use it to help me create my card. I knew I wanted to make a blended ink panel (I am on a roll with these after winning my first challenge with one last week), so I used the sketch to dictate the layout. here is the sketch:


And here is my card:


I wanted to keep the colours vibrant so I went for reds and oranges (distress inks). I then die cut the panel from bright green mirror card and heat embossed the sentiment using black embossing powder. I seem to like shiny things these days!

Here is a close up:

I hope you like it.

Thank you for taking the time to visit my blog today, I really appreciate it.
Hilary
xx

Friday, 2 November 2018

October Card Chain Challenge

Hello,
Today I am sharing my entry to the October Card Chain Challenge, I used the sketch option for my inspiration.

Here is my card:

I made the vibrant background with Catherine Pooler inks, I only have 4 colours so I used them all. I splashed the panel with a few drops of water just to give some interest, then I die cut the leaves from a watercolour panel that I made. The sentiment is stamped and heat embossed onto velum.


I sent this card to Norway and received a gorgeous CAS card from a fellow Brit. I am looking forward to taking part in the November challenge. It is so nice to receive cards from all over the world and to know that there are people just like me happily spending hours making cards.


Badge Grab


Thank you for taking the time to visit my blog today, I really appreciate it.
It would be wonderful if you left a message.
Thank you
Hilary
xx

One Layer card

Hello,
Today I am sharing a one layer card, I quite enjoy doing blended ink panels on cards, as long as I get them straight, so this technique is perfect for a one layer card. I also think they are ideal for stamping black solid images onto and now I have a stamping tool I can position them correctly and get a perfect solid black image. It always eluded me before that and I would end up getting out a black marker pen and trying to fill in the gaps, but it never quite worked. Anyway, here is my one layer card:


Orange and blue are one of my favourite colour combinations.


I am entering this in the following challenge:

Addicted to CAS #148 one layer


Thank you for taking the time to visit my blog today, I really appreciate it.
Thank you
Hilary
xx

Sunday, 28 October 2018

Dimension

Hello,

Today I am sharing my card at:

 Less is More #383 Dimension.

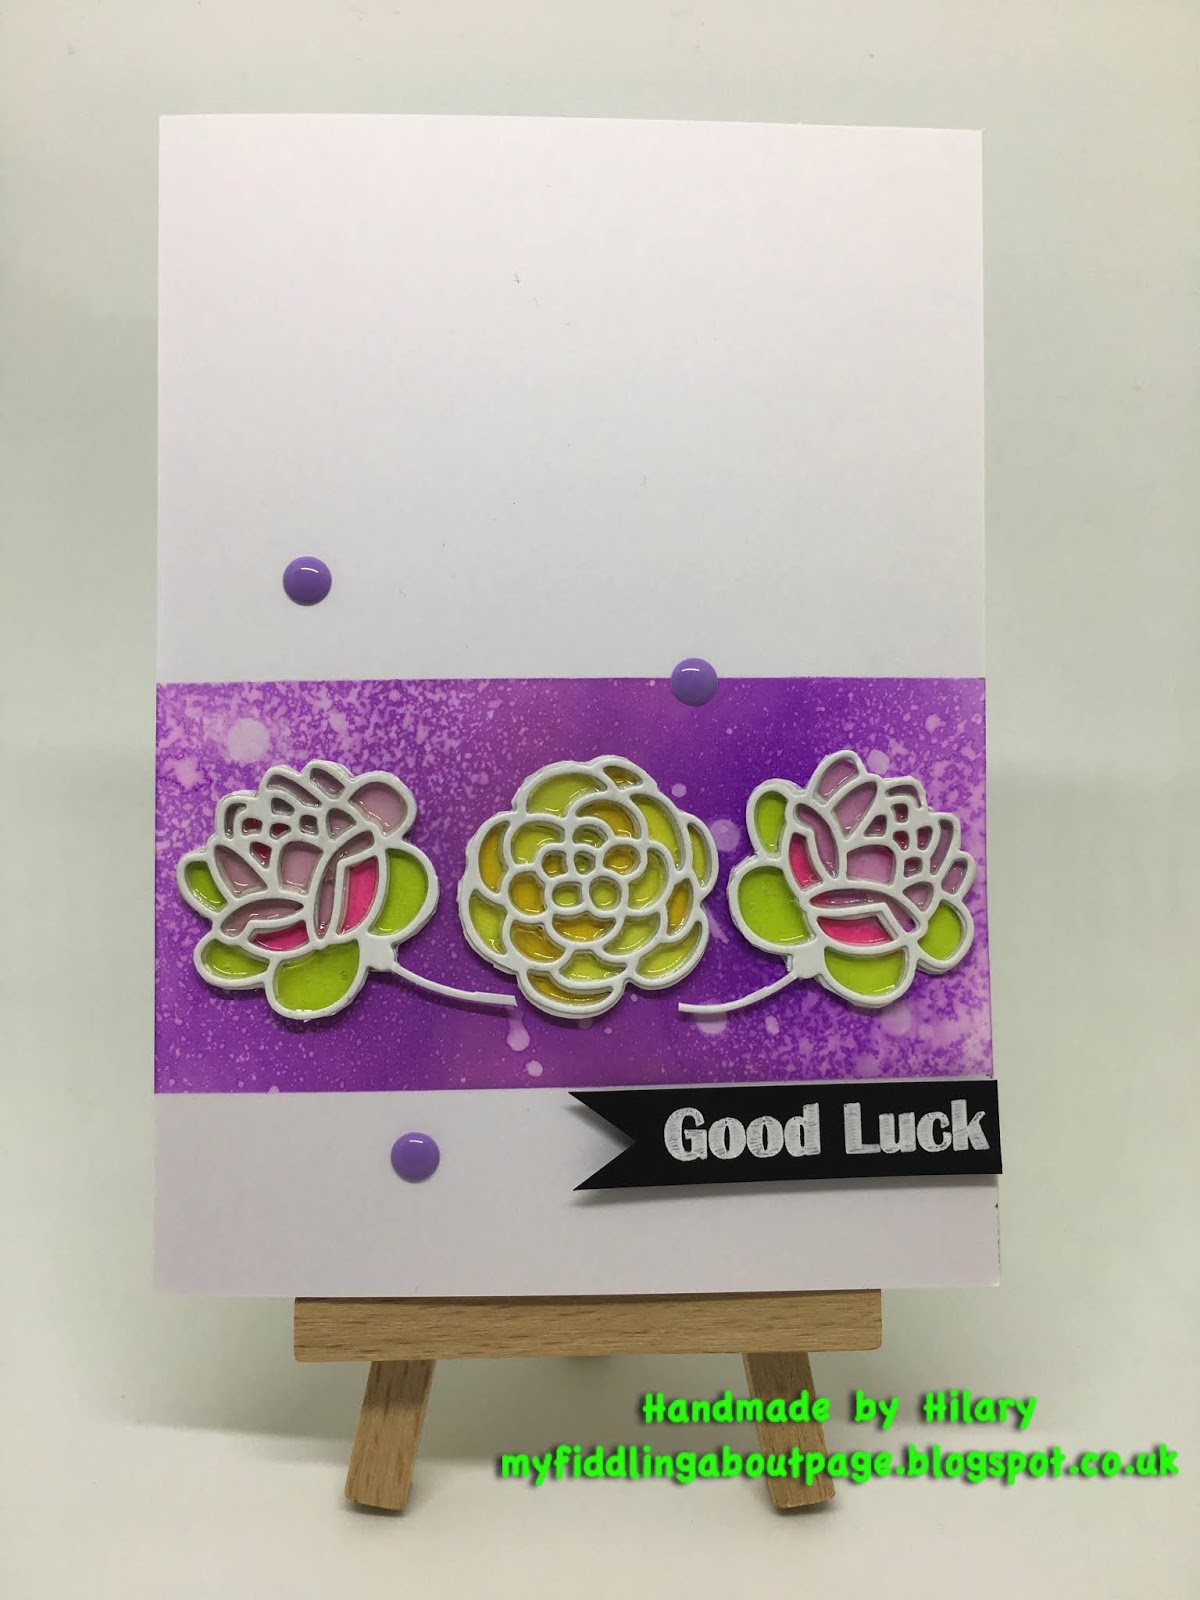
Here is my card:


To make this card I masked off a panel and inked it with distress oxide wilted violet and spritzed it with water, I then die cut the flowers (Tutti Designs Rosy Corner), cut them out and stuck them to a sheet of card. After colouring them with my Spectrum Noir alcohol markers, I die cut several more flowers and stacked them on top of each other. Once they were dry I filled the spaces with glossy accents to create the shine effect. I positioned the flowers on the inked panel, and aded the sentiment panel and a few enamel dots. 

I think this technique is so effective and I really like the way it adds dimension to a simple card.


Thank you for taking the time to visit my blog today, I really appreciate it.
Hilary
xx

Flowers and Eyelets


Hello,
Today I am sharing a card at:
 Freshly Made Sketches #360

Here is my card:

The background is embossed, the sentiment is written on velum with my Scan n Cut, the wreath is die cut and the die cut flowers are attached with eyelets. I am quite pleased with the overall effect of this card. It looks quite detailed but is actually quite simple although fixing the layered flowers with the eyelets was a bit of a fiddle.


Thank you for taking the time to visit my blog today, I really appreciate it.
Hilary
xx